Add Header and Footer with Tailwindcss / Building Website with Next.js with Coursor.ai

Add Header, Footer, and Content Area UI Elements to the Website
[ 3 videos and homework | Duration: 35-40 mins | | Preview demo ]
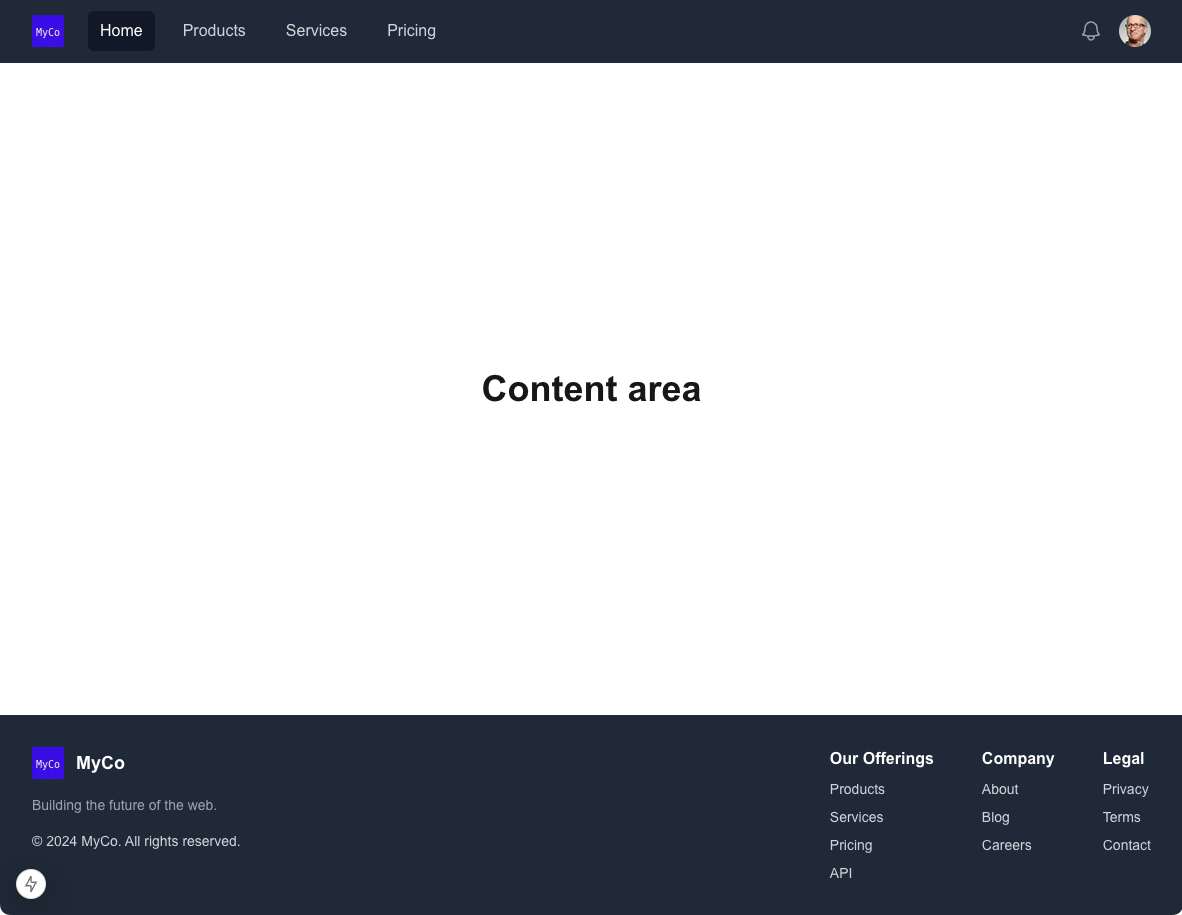
As part of the step-by-step tutorial for creating a simple website with Next.js, we will extend the website with basic UI features: a header with a Navbar, a content area, and a footer with links. We will build these UI components using TailwindCSS, TailwindUI, and Next.js.
Public course content includes:
1. Start development with Next.js, React, and Tailwindcss using Cursor.ai
2. Create an app using Next.js, React, and Tailwindcss
3. Add bare minimum UI elements to the website: Header, Footer, and Content Area --- THIS POST
4. Introduce reusable React components
5. Add extra pages and connect them using the Next.js Link
6. Publish the website using Vercel
Join with membership or purchase the entire course to access all course materials: complete source code, step-by-step changes, homework, and solutions.
This video tutorial consists of the following:
- Primary video tutorial (video 1) explaining how to add header, footer, and content area to a simple Next.js website using Tailwindcss.
- An extra video (video 2) showcasing how to refactor the header using Cursor AI (prompts).
- Another extra video tutorial (video 3) showcases how to refactor the footer area using Cursor AI (prompts).
- A preview website to see the final result.
- Follow-up learning topics.
- 1 Homework (for paid members).
- Complete source code (paid members).
Tutorial 1: Header, Footer, and Content Area with TailwindCSS
Part 1: Adding header, footer, and content area to a simple Next.js website with Tailwindcss
The video tutorial includes the following steps:
- Project structure, inline components.
- Creating the header, footer, and content area components for a simple Next.js website.
- How to use TailwindUI in a Next.js and TailwindCSS project.
Preview of the final result:

Add a NavBar (navigation menu) to a Next.js app
This sub-section covers:
- Implement a header with a navbar, a footer, and a simple content area (with raw HTML for now)
- Extend our solution by adding Tailwindcss and TailwindUI
- Use Navbar from TailwindUI
- Install dependencies:
npm install @heroicons/reactnpm install @headlessui/react
- Install dependencies:
- Replace
<img>withnext/image - Add the external domain to your Next.js config (
next.config.ts) to allow image optimization for images from Unsplash and TailwindUI.
Link to TailwindUI's Navbar:

Add content area
This sub-section covers:
- Using Tailwindcss flex component
- Using alignment and size Tailwindcss classes
Add a footer to a Next.js application
This sub-section covers:
- Add a two-sided and multi-column footer to the website
- Adjust links in the header and footer
- Add a simple content area placeholder
Tutorial 2: Refactor Tailwindcss Header UI using Cursor AI (EXTRA 1)
Tutorial 3: Refactor Tailwindcss Footer Area using Cursor AI (EXTRA 2)
Follow-ups to improve your skills after this tutorial
- It is recommended to learn more about the following Tailwindcss elements:
🔐 Source Code, Homework Excercise, and Solution
This tutorial includes homework, a solution for the homework, and complete source code.
All CoderVlogger.com paid members are eligible to access all course materials with extra steps.
Additionally, you can buy complete course materials and source code with a one-time payment (coming soon; subscribe for announcement).
